How Are Gemstones Cut Step by Step
If you’ve ever tried cutting gemstones, you know it can be tricky to get the perfect shape and sparkle. You’re not alone—many people struggle with knowing where to start and how to avoid costly mistakes. Mastering the art of gemstone cutting takes patience and a clear understanding of each step involved.
You start cutting gemstones by evaluating the rough stone’s color, clarity, and flaws to plan the best shape and facets. Next, you carefully mark cutting guidelines, then saw the stone using diamond-coated blades with water cooling.
You shape and smooth facets precisely, followed by polishing to maximize shine and brilliance. Finally, you inspect for quality and tweak the cut for perfection. Understanding these steps helps you master the art and overcome common challenges.
Key Takeaways
- Evaluate the rough gemstone’s color, clarity, size, and flaws to plan an optimal cut maximizing brilliance and minimizing waste.
- Mark the gemstone precisely using fine-tipped tools to guide accurate sawing and shaping according to the design plan.
- Saw the rough stone with diamond-coated blades using water coolant to safely slice the gemstone without damage.
- Shape and facet the gemstone by grinding with progressively finer abrasives, ensuring precise angles and symmetrical facets for light reflection.
- Polish the facets with diamond powder or oxide compounds, then inspect and adjust to achieve maximum shine, clarity, and balanced brilliance.
Understanding Rough Gemstones: Evaluating Potential and Flaws
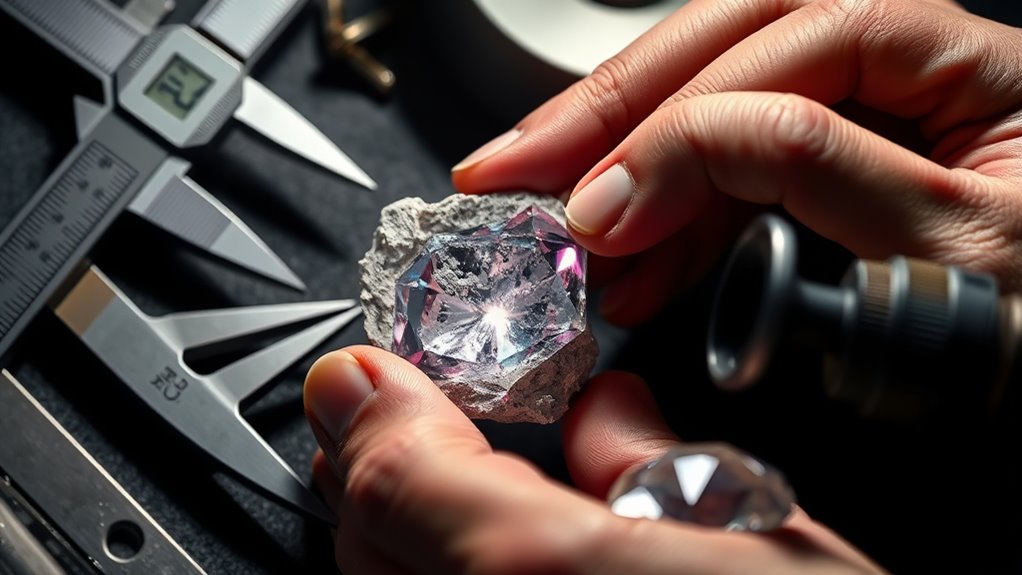
Evaluating a rough gemstone is your first step to revealing its true beauty. You’ll want to carefully examine its gemstone properties, such as color, clarity, size, and hardness. These factors influence how the gem will respond to cutting and polishing.
Using specific evaluation techniques, you’ll identify any flaws or inclusions that could affect the final appearance and value. By scrutinizing transparency and internal characteristics, you can decide which areas to preserve or remove.
This stage requires sharp observation and knowledge of gem behavior under light. Understanding the rough stone’s potential guarantees you make informed choices that maximize brilliance and minimize waste. Mastering these evaluation techniques sets the foundation for a successful gemstone cut.
Planning Your Gemstone Cut: Choosing Shape and Facet Design
Once you’ve assessed the rough gemstone’s qualities and flaws, the next step is to plan how you’ll shape and facet it. This phase is essential since the right shape and facet design improve the gemstone’s aesthetics and align with current design trends.
Consider these key points as you plan:
Keep these essential factors in mind when planning your gemstone’s shape and facets for optimal beauty.
- Evaluate the natural shape and size of the rough stone
- Choose a shape that maximizes brilliance and minimizes waste
- Decide on facet styles that highlight color and clarity
- Stay updated with design trends to appeal to modern tastes
- Balance artistic vision with the stone’s optical properties
Marking the Gemstone for Accurate Cutting
To cut your gemstone accurately, you’ll want to pick the right marking tools—ones that won’t harm the stone. Then, take your time to carefully spot and mark the cutting guidelines based on your design plan. These marks will act like your roadmap as you go through the cutting process.
Selecting Precise Marking Tools
Although choosing the right marking tools might seem straightforward, it plays a crucial role in ensuring your gemstone is cut with precision. Using proper precision instruments helps you mark clear, accurate guidelines without damaging the stone.
When selecting your marking tools, consider these essentials:
- Fine-tipped permanent markers designed for gemstones
- Diamond-tipped scribers for delicate, precise lines
- Ultrasonic cleaning pens to remove excess marks easily
- Non-abrasive pencils with erasable leads for temporary guidelines
- Magnification aids paired with precision instruments for accuracy
These tools enable you to set exact cutting points, minimizing errors and preserving the gem’s quality. By carefully choosing your marking tools, you gain control over the initial step that directly impacts the final cut’s brilliance and symmetry.
Identifying Cutting Guidelines
With your marking tools ready, you can start identifying the exact cutting guidelines on your gemstone. Begin by examining the stone’s natural shape and any inclusions that might affect the final cut. Use your tools to draw precise lines indicating where each facet will be cut.
These guidelines help you apply the right cutting techniques to maximize the gemstone’s brilliance and maintain its structural integrity. Remember, accurate markings are essential because they directly influence the gemstone quality and value.
Take your time to guarantee symmetry and balance in your layout. By marking carefully, you set a clear path for the cutting process, minimizing errors and enhancing the gem’s final appearance. This step lays the foundation for a successful, high-quality cut.
Sawing the Rough Stone Into Manageable Pieces
You’ll start by preparing the rough stone, making sure it’s clean and stable for cutting. Then, you’ll use specialized saws with diamond-coated blades to carefully slice the stone into manageable pieces. This step really sets the foundation for precise shaping and polishing later on.
Tools Used For Sawing
Cutting gemstones starts by carefully sawing the rough stone into smaller, manageable pieces. You’ll rely on specific tools designed for precision and durability. Diamond saws, with their tough cutting blades, handle the gemstone hardness effectively.
Water coolant is vital, keeping both the stone and blade cool to prevent damage. Always use proper safety equipment to protect yourself during the process. Mastering lapidary techniques guarantees you respect cutting angles, which is essential for a clean cut.
Regular equipment maintenance keeps everything running smoothly.
Key tools and essentials for sawing include:
- Diamond saws with quality cutting blades
- Water coolant systems
- Protective safety equipment
- Tools calibrated for specific cutting angles
- Routine equipment maintenance practices
Preparing Rough Stones
Start by examining the rough gemstone carefully to identify natural lines or flaws that guide your sawing. Understanding the rough stone characteristics helps you decide where to cut, minimizing waste and preserving value.
After gemstone sourcing, rough stones often come in unpredictable shapes and sizes, so you need to saw them into manageable pieces before shaping. Use a fine diamond blade saw to make precise cuts along the identified lines.
This step is essential because it prepares the stone for detailed cutting and polishing. Keep the stone cool with water during sawing to prevent cracks or heat damage.
Shaping the Gemstone Rough (Preforming)
Shaping the gemstone rough, or preforming, sets the foundation for a beautiful finished gem. At this stage, you’ll transform the raw stone into a form closer to the final shape. This helps optimize both weight and appearance. Different gemstone types require specific cutting techniques to avoid fractures and maximize yield.
When preforming, focus on removing excess material to reveal the gem’s potential. Consider natural inclusions and color zones. Select an appropriate shape based on the rough’s structure. Use grinding wheels or lasers suited to the gemstone type. And make sure there’s symmetry for easier faceting later.
Faceting Gemstones to Maximize Brilliance
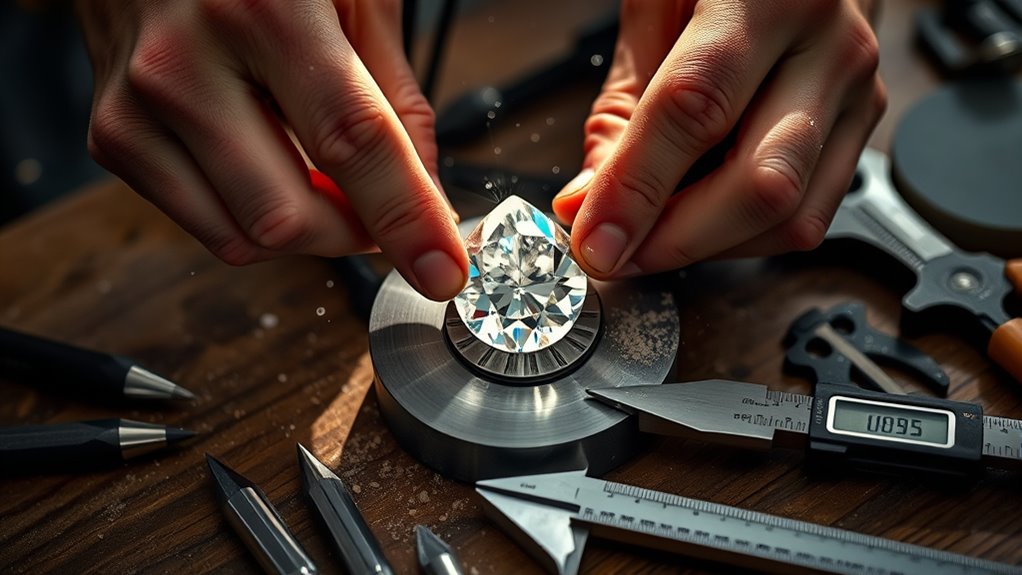
You’ll want to measure each facet’s angle with precision to make sure you get maximum brilliance. Symmetry is super important too because it affects how light bounces around inside the gemstone, giving it that captivating sparkle. Once you get the hang of these details, you’ll really bring out the gem’s full radiance.
Precision Angle Measurement
Mastering just a few key angles can dramatically improve a gemstone’s brilliance. Precision angle measurement guarantees each facet reflects light perfectly. You’ll rely on careful angle calibration and advanced measurement techniques to achieve this. Without precise angles, the gem loses its sparkle and value.
When measuring angles, keep these points in mind:
- Use a protractor or digital angle gauge for accuracy
- Regularly calibrate your tools to avoid errors
- Apply consistent measurement techniques for uniform facets
- Double-check angles before cutting each facet
- Record measurements to track progress and adjustments
Symmetry and Light Reflection
Although precise angles are essential, achieving perfect symmetry is what truly reveals a gemstone’s brilliance. When you focus on gemstone symmetry, you guarantee that each facet mirrors its counterpart, allowing light to enter and reflect evenly.
This balance maximizes light reflection inside the stone, creating that sparkling effect you want. If the symmetry is off, light leaks out unevenly, dulling the gem’s appearance.
As you cut, pay close attention to aligning facets precisely. This harmony directs light to bounce internally before it exits, boosting brilliance.
Grinding and Smoothing Gemstone Facets
Begin by carefully grinding the rough gemstone to shape the facets, using progressively finer abrasives to achieve smooth surfaces. This process improves facet symmetry, which is essential for balanced light reflection and overall gemstone beauty. You’ll also want to consider gemstone durability to avoid overgrinding or damaging delicate stones.
As you smooth the facets, keep these key points in mind:
- Use diamond-coated wheels or laps for harder stones
- Adjust grinding speed to control heat and prevent cracks
- Maintain consistent angles for precise facet symmetry
- Frequently inspect facets under magnification for uniformity
- Clean the gemstone between abrasive changes to avoid contamination
Polishing Gemstones for Maximum Shine and Clarity
Polishing brings out a gemstone’s true brilliance by removing any remaining scratches and creating a smooth, reflective surface. You’ll use specialized polishing techniques that involve progressively finer abrasives, often diamond powder or oxide compounds, applied with a polishing wheel or lap.
These techniques guarantee every facet gleams, boosting the stone’s shine improvement to its fullest potential. As you carefully polish, you focus on maintaining the gemstone’s shape and angles while eliminating microscopic imperfections.
This step is essential because it directly impacts the gem’s clarity and overall visual appeal. By mastering these polishing techniques, you’ll transform a roughly cut stone into a dazzling gem that captures and reflects light beautifully, ready to impress with its maximum shine and clarity.
Inspecting Quality and Adjusting the Cut Gemstone
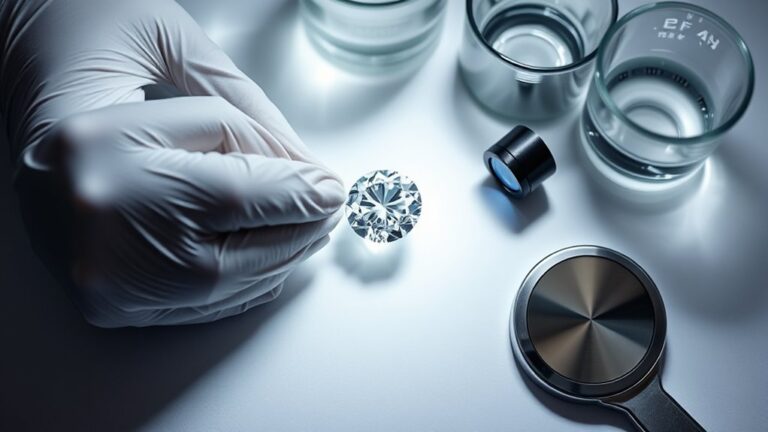
Once you finish polishing, you’ll carefully inspect the gemstone to evaluate its quality and determine if any adjustments are needed. This quality inspection guarantees the gem’s brilliance and symmetry meet your standards.
You’ll look for any imperfections or uneven facets that could affect its value or appearance. If necessary, you’ll perform a cut adjustment to improve the stone’s sparkle and overall shape.
During quality inspection, focus on:
During quality inspection, prioritize facet alignment, surface polish, light brilliance, and overall gemstone symmetry.
- Facet alignment and symmetry
- Surface smoothness and polish quality
- Light reflection and brilliance
- Presence of chips or scratches
- Overall shape and proportions
Common Challenges in Gemstone Cutting and How to Overcome Them
After inspecting and adjusting your gemstone, you’ll likely encounter several challenges that can affect the cutting process. One common issue is managing stone durability; some gems are fragile and prone to cracking under pressure. To prevent damage, you need to select cutting techniques that suit the specific hardness and internal structure of the stone.
Another challenge is achieving precise angles without wasting material. You can overcome this by carefully planning each cut and using advanced tools for accuracy.
Inclusions and irregularities within the gemstone may also complicate cutting, requiring you to adapt your approach to minimize their visibility. By understanding these challenges and applying appropriate cutting techniques, you’ll improve both the quality and brilliance of your finished gemstone.
Frequently Asked Questions
What Types of Gemstones Are Best Suited for Cutting?
You’ll find gemstones with higher hardness ratings, like diamonds, sapphires, and rubies, are best suited for cutting because they resist scratches and hold their shape well. Also, stones with rich color variations, such as tourmaline or spinel, make the cut more visually stunning.
Softer gems might be too fragile, so focus on those combining durability and vibrant colors to get the most beautiful and lasting results.
How Long Does the Gemstone Cutting Process Usually Take?
The gemstone cutting process usually takes anywhere from a few hours to several weeks, depending on the cutting techniques used and the complexity of the gemstone shapes you want. Simple cuts like cabochons are quicker, while intricate faceting requires more time and precision.
Your cutter will carefully plan each step to improve the gem’s brilliance and durability, so be patient. Quality takes time to achieve the perfect shape and sparkle.
What Tools Are Essential for Beginner Gemstone Cutters?
You might think gemstone cutting requires complex tools, but as a beginner, you mainly need a few essentials. Start with a lapidary machine equipped for basic cutting techniques like grinding and polishing.
Don’t forget essential safety equipment like goggles, gloves, and a dust mask to protect yourself from sharp fragments and dust. These tools help you practice safely and effectively, laying a solid foundation as you refine your gemstone cutting skills.
Can Synthetic Gemstones Be Cut Using the Same Methods?
Yes, you can cut synthetic gemstones using the same cutting techniques as natural ones. Since synthetic properties often mimic natural stones, your usual methods work well.
However, you’ll want to take into account any subtle differences in hardness or internal structure to avoid damage. Paying attention to these synthetic properties guarantees you get the best shape and brilliance.
How Does Gemstone Cutting Affect the Stone’s Value?
Cutting techniques directly impact a gemstone’s brilliance and overall appearance, which are significant value factors you should consider. When you use precise cuts, you improve the stone’s sparkle and color, making it more attractive to buyers.
Poor cutting, on the other hand, can reduce clarity and weight, lowering its market value. So, the way you cut a gemstone plays an essential role in determining how much it’s worth.
Conclusion
Cutting gemstones is a precise art. You’ll be amazed to know that a skilled gem cutter can facet a stone with over 50 facets, each angled perfectly to maximize its brilliance.
By carefully evaluating the rough stone, planning your cuts, and polishing meticulously, you bring out its true beauty. Remember, every step shapes the gem’s sparkle, so your attention to detail makes all the difference.
Keep practicing, and watch your skills shine as you master how gemstones are cut step by step!