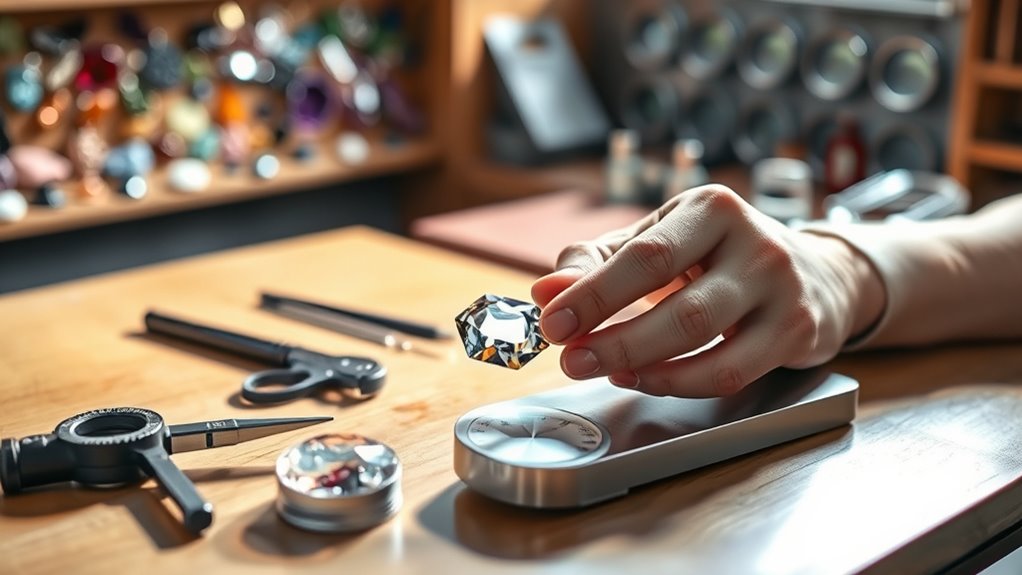
How to Test Gemstones in 6 Simple Steps
If you’ve ever tried to test gemstones and felt overwhelmed by all the details and tools involved, you’re not alone. Many people struggle with knowing where to start or how to tell if a stone is truly authentic.
Whether you’re a hobbyist or just curious, understanding the basics can make a huge difference.
To test gemstones, start by identifying key physical properties like color and hardness. Use a loupe to spot inclusions or surface flaws that reveal authenticity.
Check hardness with the Mohs scale by scratching the stone against known minerals. Measure density with precise weight and water displacement to confirm it’s genuine.
Assess color and clarity under proper lighting for true quality. Finally, use simple tools to detect treatments or synthetics.
Exploring these steps closely will deepen your gemstone knowledge.
Key Takeaways
- Observe gemstone color, transparency, and brilliance under natural light to assess quality and origin. This helps you get a true sense of the stone’s characteristics.
- Use a loupe to inspect for inclusions, surface flaws, and unique internal features. These details can tell you a lot about the gemstone’s authenticity.
- Perform a scratch test with reference minerals to determine hardness on the Mohs scale. It’s a simple way to check how durable the stone really is.
- Measure gemstone density by weighing it and using water displacement. This method helps verify if the gemstone is genuine.
- Evaluate color consistency and clarity under proper lighting for an accurate quality assessment. Lighting makes a big difference when judging gemstones.
Identify Key Physical Properties of Your Gemstone
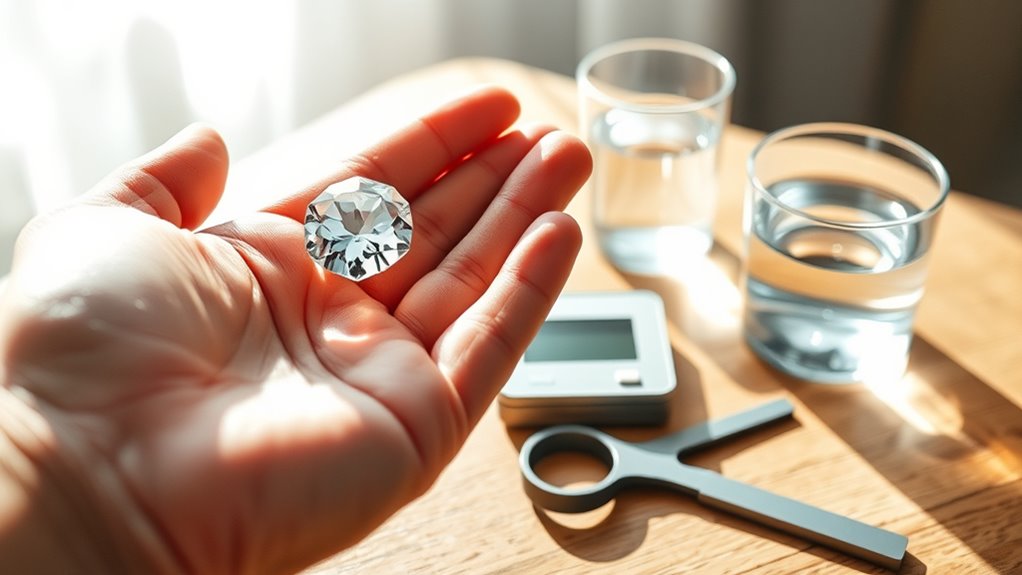
Before you plunge into any testing, you need to identify your gemstone’s key physical properties. Start by observing its color, transparency, and brilliance, as these traits often hint at gemstone origins. For example, certain hues can reveal if a sapphire comes from Kashmir or Sri Lanka.
Next, assess hardness using a simple scratch test, but be cautious to avoid damage. Specific gravity and refractive index are also vital; they help differentiate between similar-looking stones.
Knowing these properties sharpens your ability to distinguish genuine gemstones from imitations. This step is essential before moving to more detailed examinations because it lays the groundwork for an accurate value appraisal. By understanding your gemstone’s physical traits, you’re better equipped to determine its authenticity and worth confidently.
Use a Loupe to Check for Inclusions and Surface Flaws
Grab a loupe and take a close look inside your gemstone. You’re trying to spot common inclusions, like tiny crystals or fractures. It’s pretty fascinating once you start noticing these little details.
Next, check the surface carefully for any scratches or chips. These might seem small, but they can really affect the stone’s value. Paying attention to these details tells you a lot about the stone’s quality and authenticity.
Identifying Common Inclusions
When you examine a gemstone through a loupe, you’ll quickly spot common inclusions and surface flaws that reveal its authenticity and quality. Different inclusion types, like crystals, feathers, or needles, can tell you a lot about the stone’s origin and whether it’s natural or synthetic.
Understanding inclusion significance helps you determine the gemstone’s value; for example, fewer inclusions usually mean higher quality. Some inclusions are unique to certain gemstones, acting like fingerprints that confirm identity.
As you inspect, focus on how these inclusions affect transparency and brilliance. By identifying inclusion types accurately, you’ll gain insight into the gemstone’s formation and treatment history. This step is essential before moving on to spot surface imperfections or other tests.
Spotting Surface Imperfections
A loupe is an essential tool for spotting surface imperfections on gemstones, allowing you to examine scratches, chips, or abrasions that affect their value and durability. When you use a loupe, focus on the surface textures and look closely for any irregularities that disrupt the gem’s smoothness.
These flaws often appear as tiny cracks, pits, or uneven areas that can alter the gemstone’s overall appearance. Pay attention to visual patterns on the surface; inconsistencies here may indicate damage or poor craftsmanship.
Test Gemstone Hardness With the Mohs Scale
Although gemstone testing involves various methods, evaluating hardness with the Mohs scale is one of the most reliable and straightforward techniques you can use. This scale ranks minerals from 1 (talc) to 10 (diamond) based on their ability to scratch softer materials.
To test your gemstone, try scratching it with a reference mineral or tool of known hardness. If it scratches, your stone is softer; if not, it’s harder. Using these hardness comparison methods helps you identify the gemstone or verify its authenticity.
Measure Gemstone Density to Confirm Authenticity
Since density varies between gemstone types, measuring it provides a reliable way to confirm authenticity. To do this, first weigh the gemstone using a precise scale. Then, measure its volume by submerging it in water and noting the displaced amount.
Divide the weight by the volume to calculate the gemstone’s density. Next, perform a density comparison against known values for your gemstone type. If the numbers align, you’ve taken a critical step in authenticity verification.
This method helps differentiate genuine stones from imitations or synthetics, as fakes often have inconsistent densities. Keep in mind that accurate measurements require careful handling and proper tools. By mastering density measurement, you’ll improve your ability to verify gemstones confidently and avoid costly mistakes.
Check Color and Clarity Under Proper Lighting
You’ll want to check out your gemstone under natural light or something that mimics daylight. This way, you can really see its true color. Take a close look to make sure the hues are even throughout the stone. Also, keep an eye out for any spots or inclusions that might affect how clear it is. Proper lighting makes it easier to spot any flaws that could lower the gem’s value.
Ideal Lighting Conditions
When examining gemstones, choosing the right lighting can make all the difference in accurately evaluating their color and clarity. You want to balance natural light and artificial light to see the gem’s true qualities. Here’s how to set up ideal lighting conditions:
- Use multiple light sources with varying color temperatures to reveal different tones and internal features without distortion.
- Adjust lighting angles and brightness levels to minimize shadow effects while highlighting reflective surfaces for clarity assessment.
- Prefer daylight or daylight-simulating bulbs to maintain consistent color perception, avoiding overly warm or cool lights that can mislead your evaluation.
Assessing Color Consistency
Although proper lighting sets the stage, analyzing color consistency requires keen observation to detect subtle variations within a gemstone. You should examine the stone from different angles to spot any hue variations that might affect its overall appeal.
Pay close attention to color saturation; a uniformly rich saturation usually indicates higher quality. Uneven saturation or unexpected shifts in hue can signal treatments or lower-grade stones. Use a white background to help you identify these differences clearly.
Identifying Clarity Flaws
Since clarity greatly impacts a gemstone’s value, inspecting it under proper lighting is essential to spot any flaws or inclusions. During your visual inspection, focus on identifying clarity types like internal inclusions, surface-reaching fractures, or clouds that can affect brilliance.
Follow these steps to check clarity effectively:
- Use a bright, white light source to reveal imperfections clearly without color distortion.
- Examine the gemstone with a jeweler’s loupe or magnifying glass, moving it around to catch flaws from different angles.
- Note the size, number, and location of clarity flaws, as these factors influence the gem’s overall quality.
Detect Synthetic or Treated Gems With Simple Tools
If you want to spot synthetic or treated gemstones without expensive equipment, a few simple tools can reveal important clues. Start with a loupe or magnifier to examine inclusions. Natural gems often have irregularities, while synthetic gemstones tend to show uniform patterns.
Use a polariscope to observe optical properties. Lab-created gems may display distinct light behavior compared to natural stones. A refractometer helps measure refractive index, aiding gem identification and authenticity verification.
You can also perform a simple UV light test, as some gemstone treatments react distinctly under ultraviolet light. These straightforward steps in gemstone testing help you differentiate natural vs synthetic gems and detect gemstone treatments. This gives you confidence in evaluating gem authenticity with basic tools.
Frequently Asked Questions
How Do Professional Gemologists Certify Gemstones?
Professional gemologists certify gemstones through strict certification processes at accredited gemological laboratories. You’ll see them use advanced tools like microscopes, spectrometers, and refractometers to analyze the stone’s properties.
They document clarity, color, cut, and carat weight, then issue a detailed report verifying authenticity and quality. When you get a certified gemstone, you’re assured it’s been thoroughly tested by experts following industry standards.
What Are the Best Apps for Gemstone Identification?
You’ll find several gemstone apps that make identification easy and accurate. Apps like Gemstone ID, Gemstone Observer, and Gemporia use advanced identification techniques, including image recognition and database comparison.
These gemstone apps let you capture photos and analyze color, clarity, and other features instantly. By using these tools, you can quickly identify stones without expert equipment, making gemstone identification accessible whether you’re a beginner or enthusiast.
Can a Smartphone Camera Effectively Test Gemstone Quality?
You might snap a close-up of a gemstone with your smartphone and hope to judge its sparkle and color, but smartphone limitations mean you can’t fully test quality indicators like clarity or authenticity. While your camera captures surface details well, it won’t reveal internal flaws or precise color grading.
How to Safely Clean Gemstones Before Testing?
You should use gentle cleaning methods to safely clean gemstones before testing. Start by soaking your gemstone in warm, soapy water. Mild dish soap works well for this.
Use a soft brush, like a toothbrush, to gently remove dirt or oils. Avoid harsh chemicals or ultrasonic cleaners unless you’re certain the stone can handle them.
Rinse thoroughly and pat dry with a soft cloth to confirm your gemstone’s surface is clean and ready for testing.
What Are Common Scams in Gemstone Buying?
You know what they say: “If it sounds too good to be true, it probably is.” When buying gemstones, watch out for fake certifications that claim authenticity but don’t hold up under scrutiny.
Also, beware of misleading marketing that exaggerates a gem’s quality or origin to jack up the price. Always verify credentials and ask for detailed reports so you don’t get swindled by tricks meant to fool buyers like you.
Conclusion
By boldly balancing brightness, brilliance, and beauty, you’ll better believe in your gemstone’s genuineness. With careful checks of clarity, color, and composition, you’ll confidently confirm each crystal’s character.
Don’t doubt the details. Diligently explore density, defects, and durability to detect deception. Following these simple steps, you’ll swiftly spot synthetic substitutes and surface slips.
So, stay sharp, stay savvy, and savor the sparkling satisfaction of successfully testing your stones. Remember, mastering how to test gemstones makes all the difference!